Sidebar
en:articles_configure
Configure/edit Articles
There are different ways to edit or configure an article from your article list. The following table provides an overview:
| What? | Where? | How? |
|---|---|---|
| Open position | By double-clicking on position in the article list. | Instead of complete article list, individual items are displayed. Depending on the type of position with preview image, product information, properties… |
| Edit article | Select position and click Properties at the bottom of the pCon.basket Online. | Article properties of configurable articles are arranged by category and are changed following selection. For user articles, set articles and folders, enter a description in this view. |
| Edit user article (pCon.basket PRO and Integration edition) | Select position and click Properties at the bottom of the pCon.basket Online. | Manually assign article image, manufacturer as well as series ID, article number and article texts Enter purchase price and sales price for user articles in different currencies, if required Enter description |
| Edit folders (pCon.basket PRO and Integration edition) | Select position and click Properties at the bottom of the pCon.basket Online. | Show sub total Show full width images in report Enter description |
| Edit set articles (pCon.basket PRO and Integration edition) | Select position and click Properties at the bottom of the pCon.basket Online. | Show or hide sub-positions in the report Show full width images in report Enter description |
| Edit text positions (pCon.basket PRO and Integration edition) | Select position and click Properties at the bottom of the pCon.basket Online. | Enter short text, long text and additional text |
| Screenshot | Camera icon at upper right corner of article view | Create a screenshot of the current article view. If dimensions are active, they will be visible in the screenshot. The screenshot will be saved under Additional images, Image tab of the properties dialog. |
| Camera view (article) | 3D view is displayed in the middle of pCon.basket Online after opening the article. More options: 3 dots menu at the upper right edge of the view. | Zoom or rotate to change the view. 3 dots menu: • Show Dimensions • Change Camera View (standard 2D views/orthographic view/perspective view) • Adopt camera view for article list |
| Download CAD model | Three dots menu at the upper right corner of the article view –> Download CAD-Model | Download a CAD model of the current configuration. File formats: - 3DS - DWG 3D - FBX - GLB - USDZ |
| Image: Article (all editions) Set article, user article, folder, text (PRO and Integration edition) | Properties dialog, Images tab | Click placeholder under Custom article list image to insert an own image from your local directories. This image replaces the position image in the article list. Click placeholder under Additional images to upload further article list images for the current position. Image files in PNG, JPG or JPEG image format can be used. Up to ten additional images can be uploaded. Images located under Additional images (like, for example, screenshots created in the article view) can be defined as Custom article list image by dragging them onto this area. This will define them as the primary article list image. |
| Article specific offer texts (PRO and Integration edition) | Select position and click Properties at the lower edge of pCon.basket Online. | Enter or edit customer short text, customer long text, customer variant text, etc. at the right side of the of the article view. Click the button Offer texts are saved automatically. They are taken into account for the PDF export. Click |
| Display of property values | Right click on Configuration tab of the Properties dialog. Klick on Display mode. | Set display mode: • Text only • Key only Key and text |
Using the buttons above the article list, the following steps are possible for selected articles:
- Delete
- Cut
- Copy
- Paste from clipboard
- In the 3 dots menu:
- Rename (PRO and Integration edition)
- Mark position as alternative (PRO and Integration edition)
- Mark position as optional (PRO and Integration edition)
- Remove mark: Article will no longer be marked as alternative or optional (PRO and Integration edition)
- Convert to user articles - Article number automatically receives a prefix, in the standard case “Special” (PRO and Integration edition)
- Convert to Set Articles (PRO and Integration edition)
- Split Set Article (PRO and Integration edition)
- Update
- Merge articles (PRO and Integration edition)
- Break up articles: break up compound articles – command cannot be undone
- Move: Submenu with the options move up, move down, indent or out (alternatively: CTRL + arrow keys) – for more information on moving articles, see: Structure your article list
| Tip: Find additional tutorials on our YouTube channel | |
|---|---|
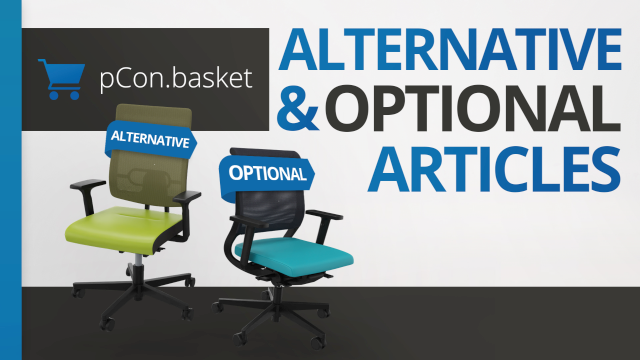
 | Alternative and optional articles | pCon.basket Tutorial If used correctly, alternative and optional items are a useful extension of the offer. In this video, we show you how to mark items or groups of items as alternative or optional and give your customer more choices. |
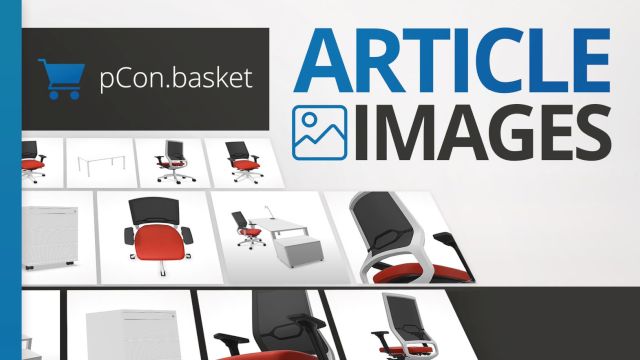
 | Visually round off offers with article images | pCon.basket Tutorial In this video, we'll show you how to make your offers visually appealing with images. |
Edit positions via context menu
The features listed above can also be accessed in the context menu: Click the right mouse button in the article tree area to open the context menu.
In addition, these options are available in the context menu:
- Collapse all: Hide subarticles
- Expand all: Show subarticles
en/articles_configure.txt · Last modified: 2023/11/01 10:08 by fbeetz
Page Tools
Except where otherwise noted, content on this wiki is licensed under the following license: EasternGraphics